
Houseplant Feature: Snake Plant (Sansevieria)
/
Snake Plant or Sansevieria is tough houseplant that works overtime to filter indoor air.
Read MoreSnake Plant or Sansevieria is tough houseplant that works overtime to filter indoor air.
Read More“I cannot say enough good things about the amazing landscape Victoria Gardens created at our home. It is a complete transformation. Victoria’s eye for recreating our entrance was spot on. The landscape now completes the approach to our door.
Bob started coming in through the new entrance instead of the garage and said “I love walking in this way”!
Victoria and her team are top notch in my book!”
Read MoreWhy did my tree die?
This is a sad, but common question.
For some reason, in the spring, a young tree will fail to put out new foliage or the young foliage will appear to die on the tree.
Read MoreWhy Victoria hates landscaping cloth and the one instance when you can use it.
Read MoreOne thing that came up a lot in the project and comes up a lot in other design projects where the outdoor space contains a deck, patio, porch, or even a walkway or driveway is that the plants can be everywhere--not just planted in the garden.
Read MoreUsing Textures in the Garden: Many people focus on flowers when they think about what they want in their garden, but flowering perennials often only bloom for a couple weeks to a couple months Choosing plants for the color and texture of the foliage is the best way to create drama and interest all season long.
Victoria talks about three different vignettes, where color and texture are the stars, not just the supporting cast.
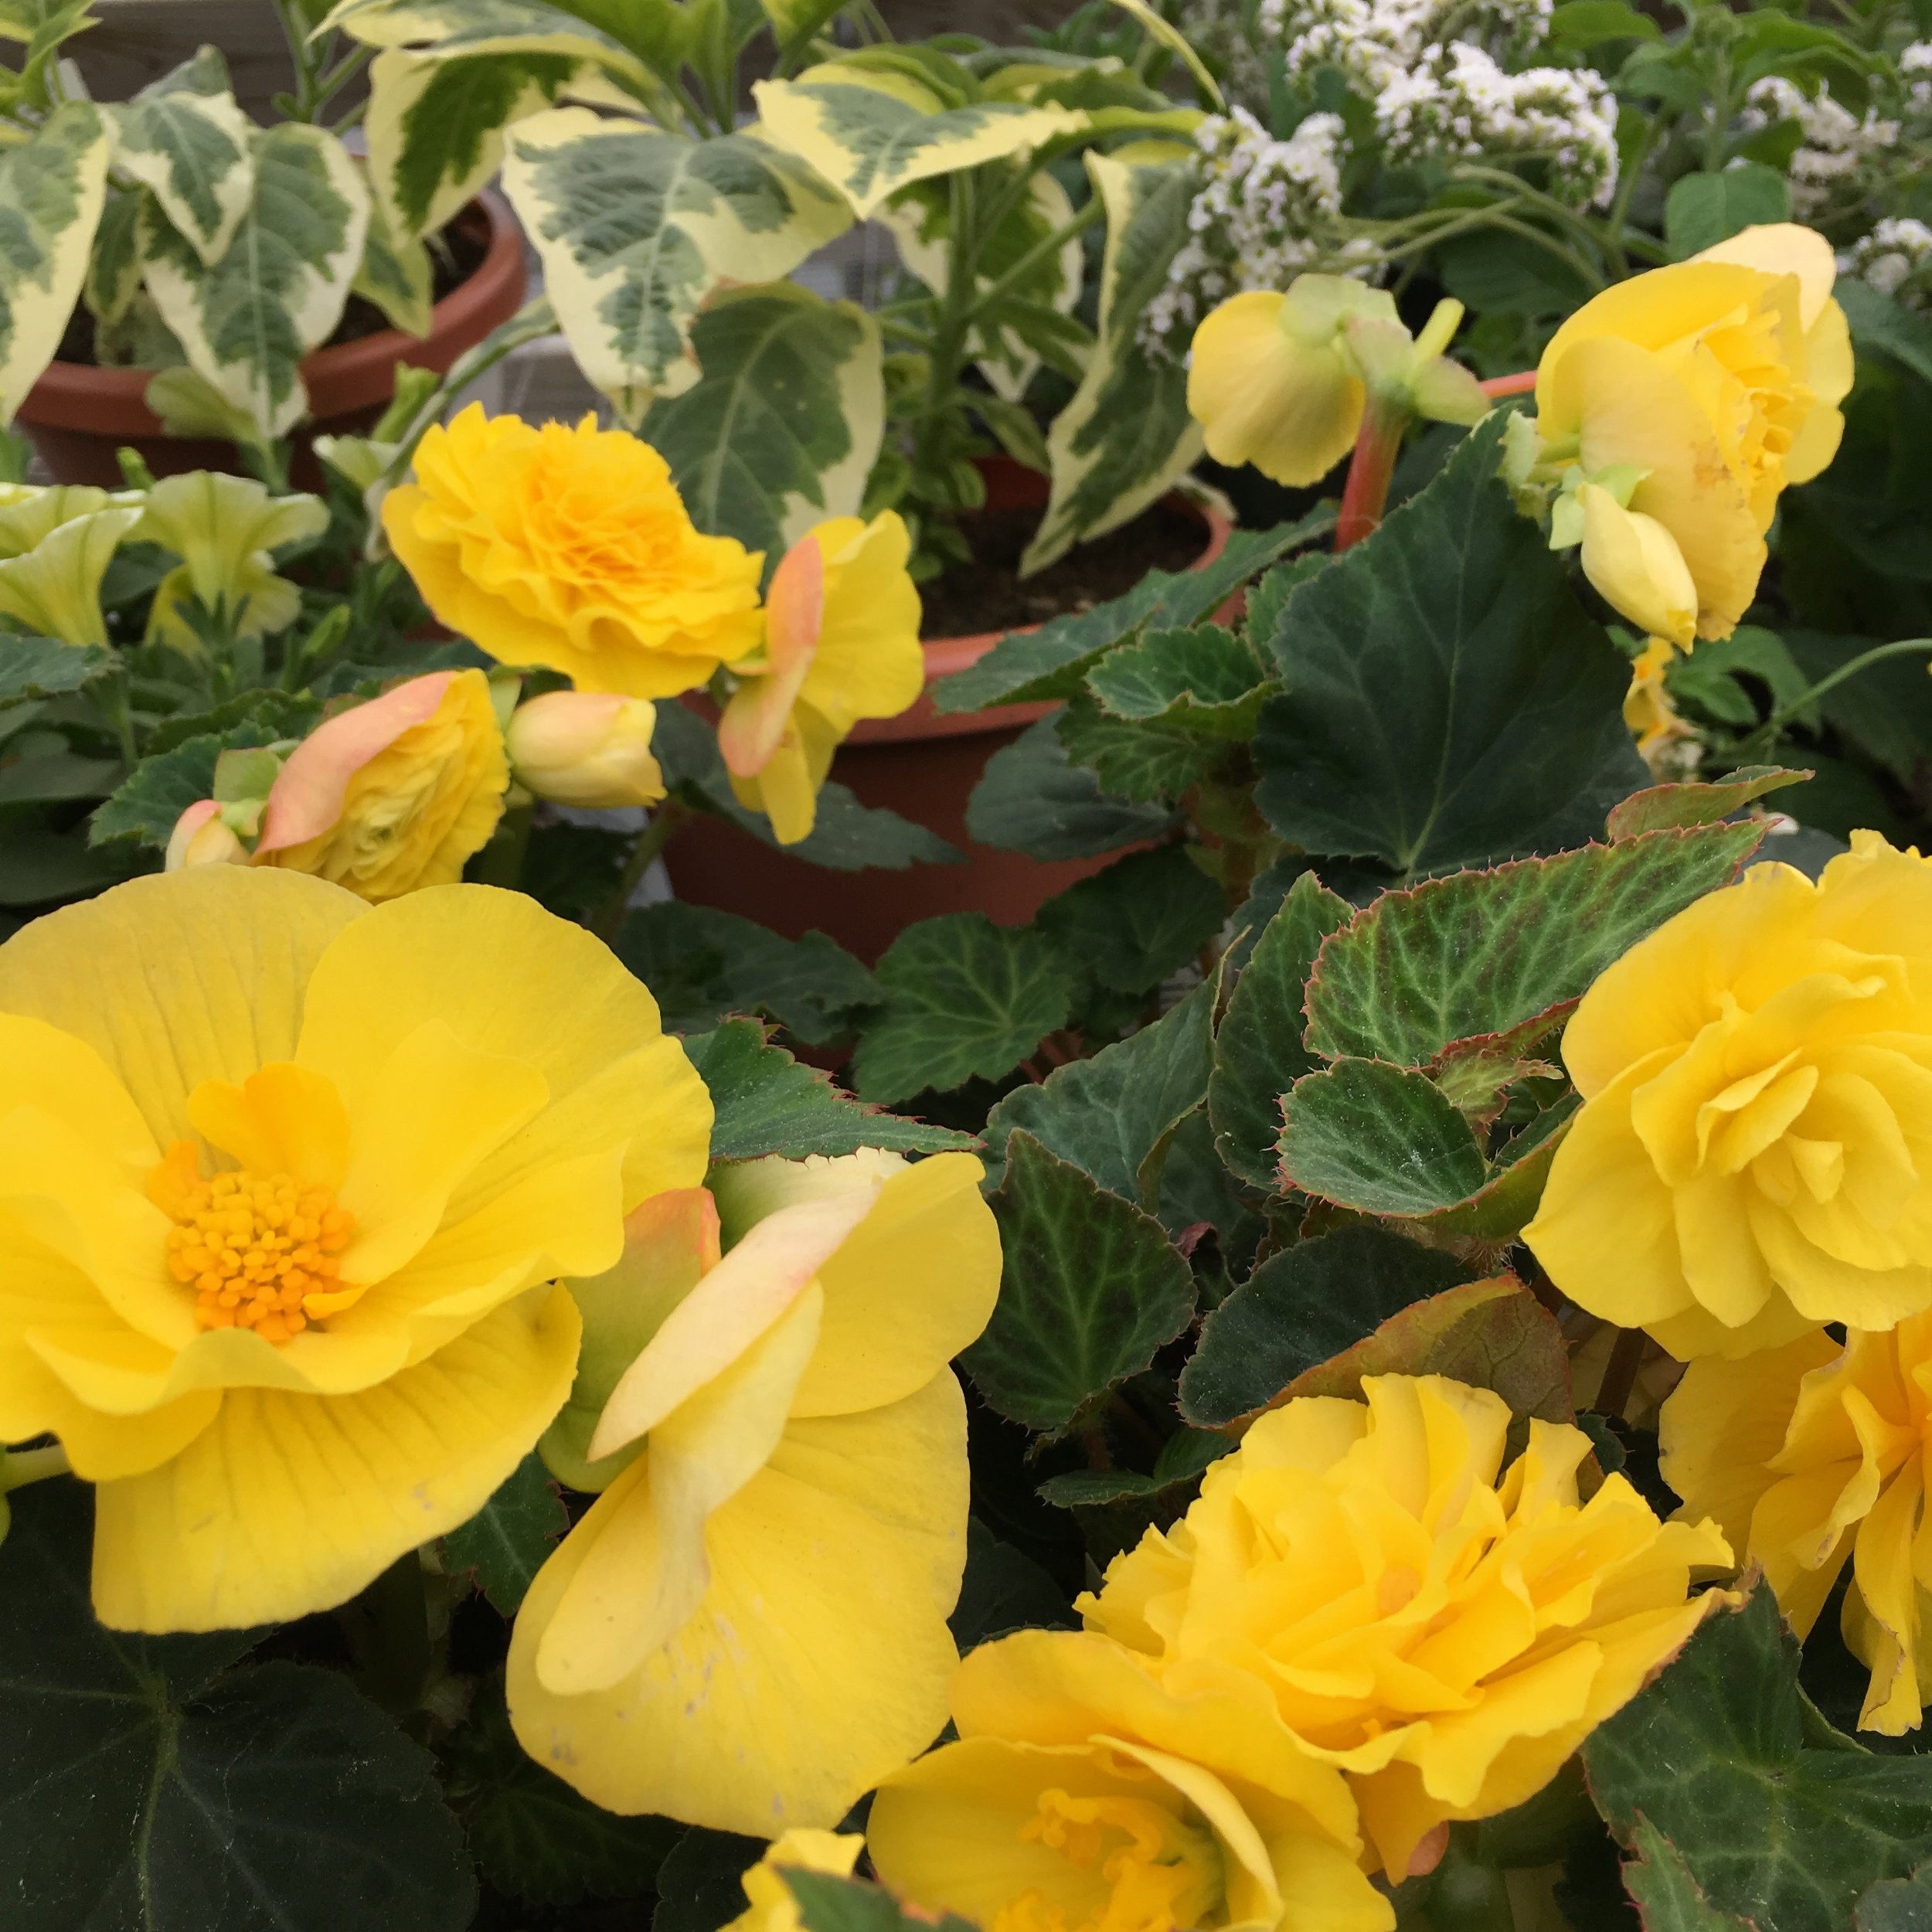
We will curate a selection of annuals for your planters and you can pick them up curbside.
Check out how it works!
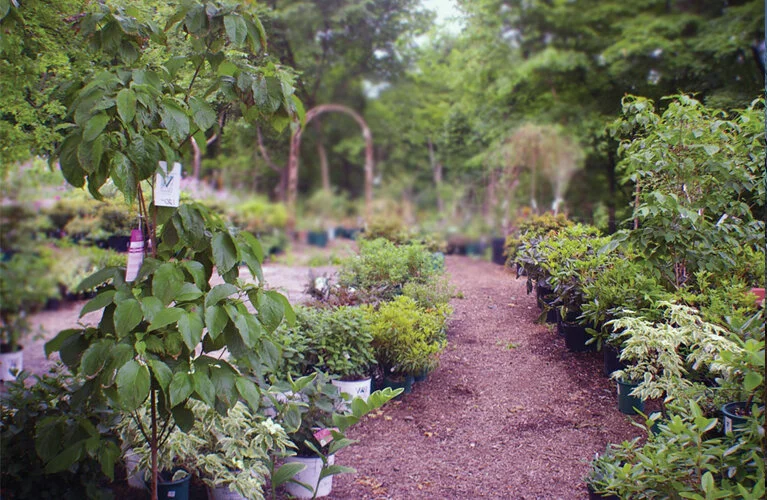
At Victoria Gardens you will find a selection of trees, shrubs, and perennials that are chosen specifically for our area and for our customers most frequently voiced problems: deer, dry soil, wet spots, and shady areas. Our knowledgeable staff will help you find the perfect combinations, so you only have to plant once!
Read MoreIt’s very hard to know what to say in the face of this global pandemic. We are all trying our best to deal with difficult circumstances and offer comfort where we can. At Victoria Gardens we are trying to balance serving the community and our customers with being safe and protecting our staff.
Read MoreMost trees and shrubs do not need to be pruned back, but if you are looking to shape a tree or to keep a larger variety of shrub a more diminutive size, here are some tips.
Read MoreIn our little corner of the world - Ulster County, NY - bloom time for Dogwoods of all varieties carries us from April through May. But there are four different Dogwood types, which bloom in succession during the spring season. Here they are in order:
Read MoreWhen it comes to watering, we get a lot of questions:
What gets watered?
How often?
How much water are we talking about anyway?
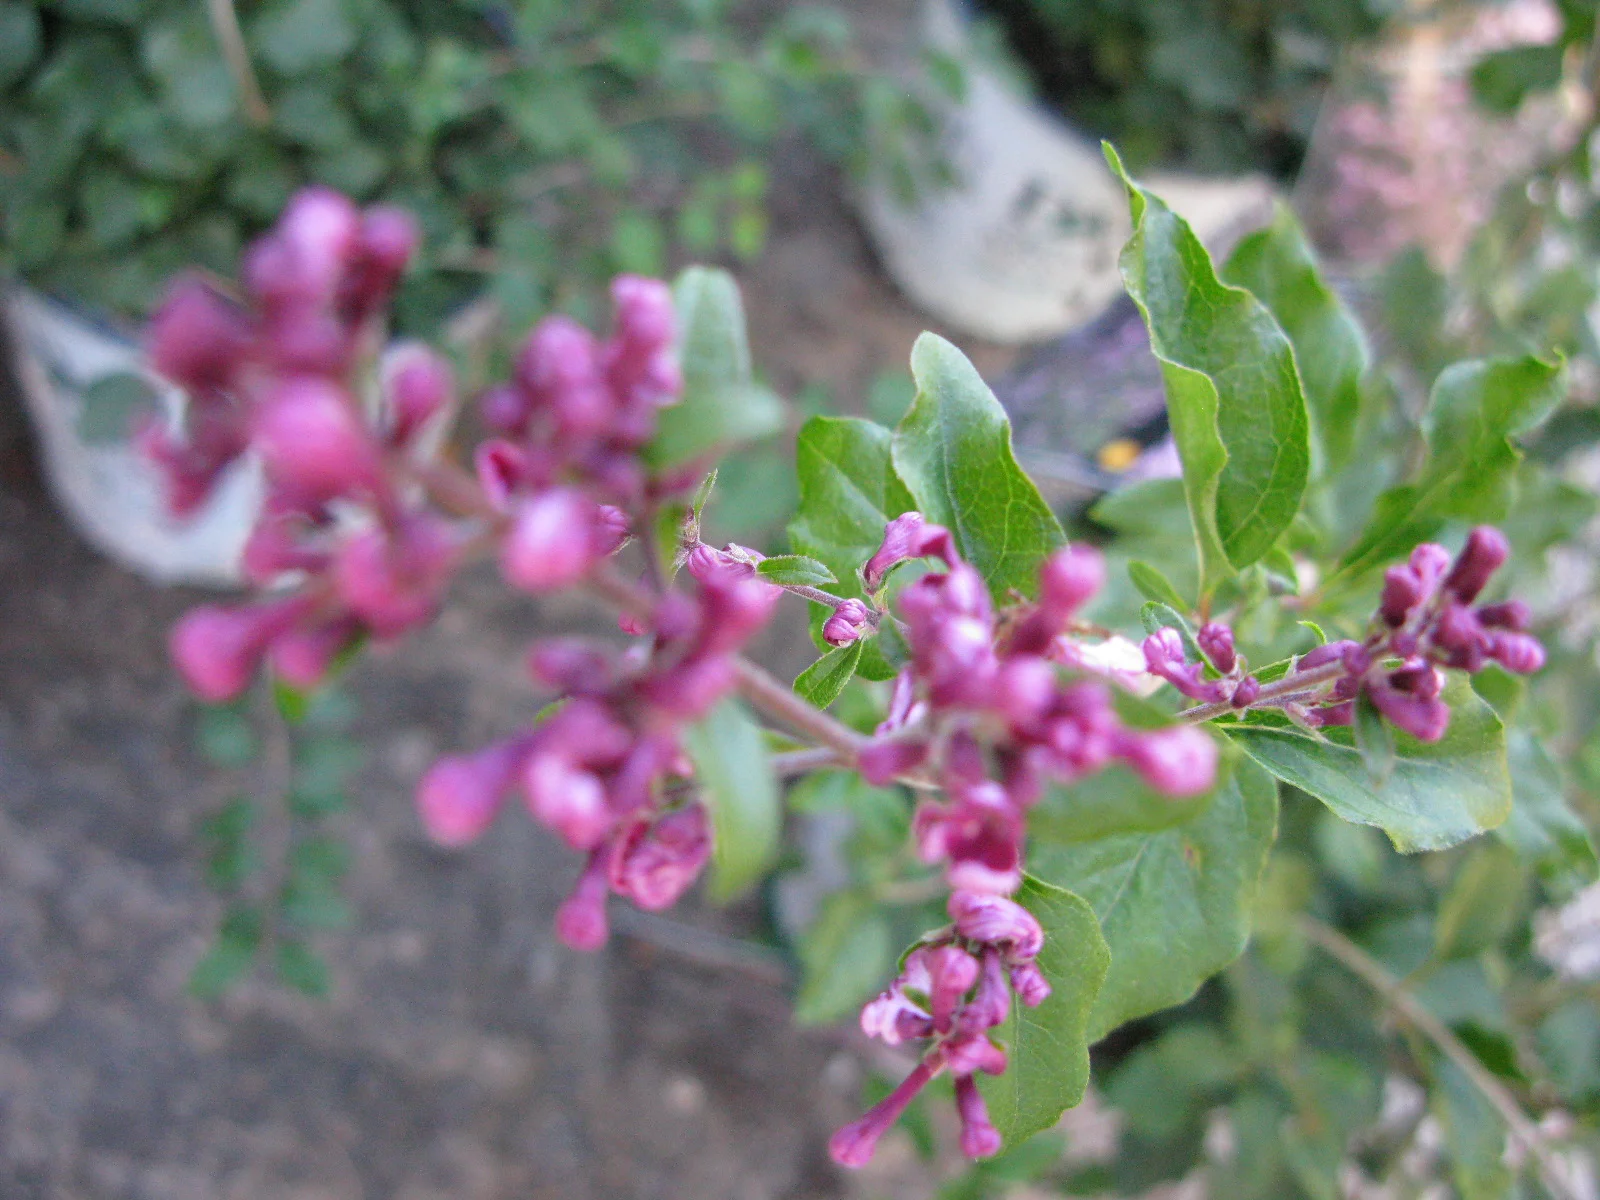
Witch hazel is an amazing and weird plant. Surrounded by lore, early settlers witnessed Native Americans using forked branches of witch hazel to find water. And the extract of the bark and wood is used as a mild astringent is used to treat everything from acne to eczema.
Read MoreHellebores are here and you don’t want to miss out.
Read MoreUnique and stunning fall plants. Victoria picked out a cart full of her fall favorites. In these videos she explains what makes each fall beauty special AND why fall is a wonderful time to plant.
Read MoreWhen bringing your houseplants inside for the winter, check each one to see if it is “root bound.”
If the roots are growing in a thick circular pattern at the bottom of the pot, then it needs to be stepped up to the next sized planter.
In the video and article below we show you how:
To keep your plants healthy, the roots need fresh soil to grow into, and your plant needs a bigger pot.
Choose a pot that is the next size up. This little guy was in a 4″ pot, so we are stepping him up to a 6″ pot.
Stop by any time Saturday or Sunday. Bring your problem children (house plants) for analysis.
We will repot your houseplants for you!
Bringing houseplants in for the winter is an October ritual. Dealing with indoor pests is usually a January ritual! One reason for this is many of us crowd our one south-facing window with an many plants as we physically can. Lack of air circulation can lead to disease and pest problems, so...
Prevention
#1. Try (try!) to give each plant a little breathing room, and set up an oscilating fan for a couple hours a day, especially in a tight space.
#2. Water moderately. Most houseplants need a whole lot less water than you think they do, especially during the cool winter months. Experiment with your houseplants and see how they respond if you let them dry out a bit more in between each watering.
#3. Examine your houseplants every week. If you do spot a problem on one plant, move it away from the others and treat it right away.
Treatment
#1. Scale - catch it early and you can get rid of pretty easily. Brush off the scale with an old toothbrush (as much as you can). Rinse the plant with soapy water (dish soap like Joy works great). Then swab any scale left with a Q-tip dipped in rubbing alcohol. Continue to treat until all signs of the scale are gone.
#2. Whitefly - quarentine any plant that has whitefly, because they can quickly become an infestation. Take it to a well ventillated space and wipe the underside of the leaves with rubbing alcohol. Then wash the plant with soapy water (again Joy!) Keep treating the plant in quarentine until you see no signs of the dandruff-like bugs.
#3. Aphids - Aphids can be green, pink, red, brown, white, black, yellow, or grey. You will see them in concentrated clumps and the underside of leaves. Use a sponge or a tooth brush and soapy water (Joy!) to remove the aphids. If your plant is small you can do this in your sink. If it's medium you can rinse it afterward in the shower. If it's large, layout a tarp or a drop cloth, use a step ladder to reach the top of the plant, and rinse the soap residue off with a spray bottle.

There are many different tropical plants sold as houseplants and annuals, but for overwintering, we are going to break them up into 3 "types."
If you have a home with bright light and lots of space you can keep your tropicals growing and blooming through the winter. 65 degrees during the day and 55 degrees during the night are actually the perfect winter temperature for most tropicals.

Water moderately - you want keep the soil on the dry side during the winter months, but to keep the humidity at around 45%, you need to spritz the leaves with a misting bottle regularly or set out a shallow dish of water near the plants. (Most homes with forced air heat have humidity levels of around 20% during the winter months.) Make sure the plants get plenty of light (12 hours) and get plenty of space and air circulation (a fan can help) to help prevent indoor pests.
What to do about whiteflies, scale, and aphids.
Plants to keep growing and blooming: Fig trees, citrus trees, palms, geraniums, oleander, tropical ferns, Christmas cactus, jasmine, hibiscus, bougainvillea, plectranthus, agave, echeveria

I've read articles about forcing dormancy for winter storage that include digging out bulbs, wrapping them in moist packing materials, misting the packing materials through the winter, carefully monitoring light and temperatures, and I have to say it all sounds like a huge hassle. Here's what we do (and it's easy!):
For bulbs (canna lily, caladium, elephant ears, and sweet potato vines) let the leaves get hit by a light frost, then bring inside and stop watering the plant. Let the soil dry out, let the leaves turn brown and the cut the plant and foliage back. Put the whole pot in a cool dark space (an unheated basement or garage, or a root cellar - we keep them in a cool room under a table!). In the spring pull out the pots, expose them to light, and start watering.

For woody-stemmed plants (brugmansia, bananas, tibouchina, and jasmine) expose them to low night time temperatures 40 to 50 degrees and then move them to a cool dark space. Stop watering and if you have the space you can leave the plant standing until the spring (we cut them back as soon as the leaves drop). Two times during the winter you want to give your woody-stemmed tropicals a little bit of water (a half gallon or so), and in the spring expose them to light and start watering (and fertilizing).
That's it - easy-peasy! Cool, dark, and dry = dormant.
If you don't have a lot of space to overwinter plants, cuttings can be the answer. Unfortunately, this only works for soft-stemmed tropicals.
Soft-stemmed topicals (geraniums, coleus, and plectranthus) can be propagated by clipping off succulent new growth (woody stems won't root) and place the cut end into water. When roots sprout, pot into soil-less mix in a small 4 inch pot. Once potted place them in full sunlight and FEED THEM! Weekly fertilizer is must to keep them healthy. In the spring, after the last threat of frost you can put them out in larger containers or plant them in your garden.
Tropicals can add color and drama to your garden all summer, and with these 3 easy techniques, you can enjoy those tender beauties year after year.

In this before and after the client had two issues. The first was that she wanted here backyard bursting with blooms. She is a plant lover and wanted us to create beds for a real "hort-head" collection garden.

The second issue, even though this bare grassy hillside looks innocent enough, every time it rained, water was pouring into the basement and compromising the foundation.
Creative garden design can fix both!
First we came in with an excavator and moved some of the dirt off the hillside. We wanted to create a path for water drainage AWAY from the house.

As we excavated, we happily unearthed some spectacular rock outcroppings and married them with a dry riverbed for drainage when it rained.

We transformed this boring and problematic hillside into an outdoor space that was full of character...and we hadn't even brought in plants yet!
Two years later, all the small perennials have filled out and the garden is a raucous explosion of blooms. This is honey bee heaven and you can hear the delightful buzz of healthy pollinators and watch the many Monarch butterflies flitting around in this beautiful garden.


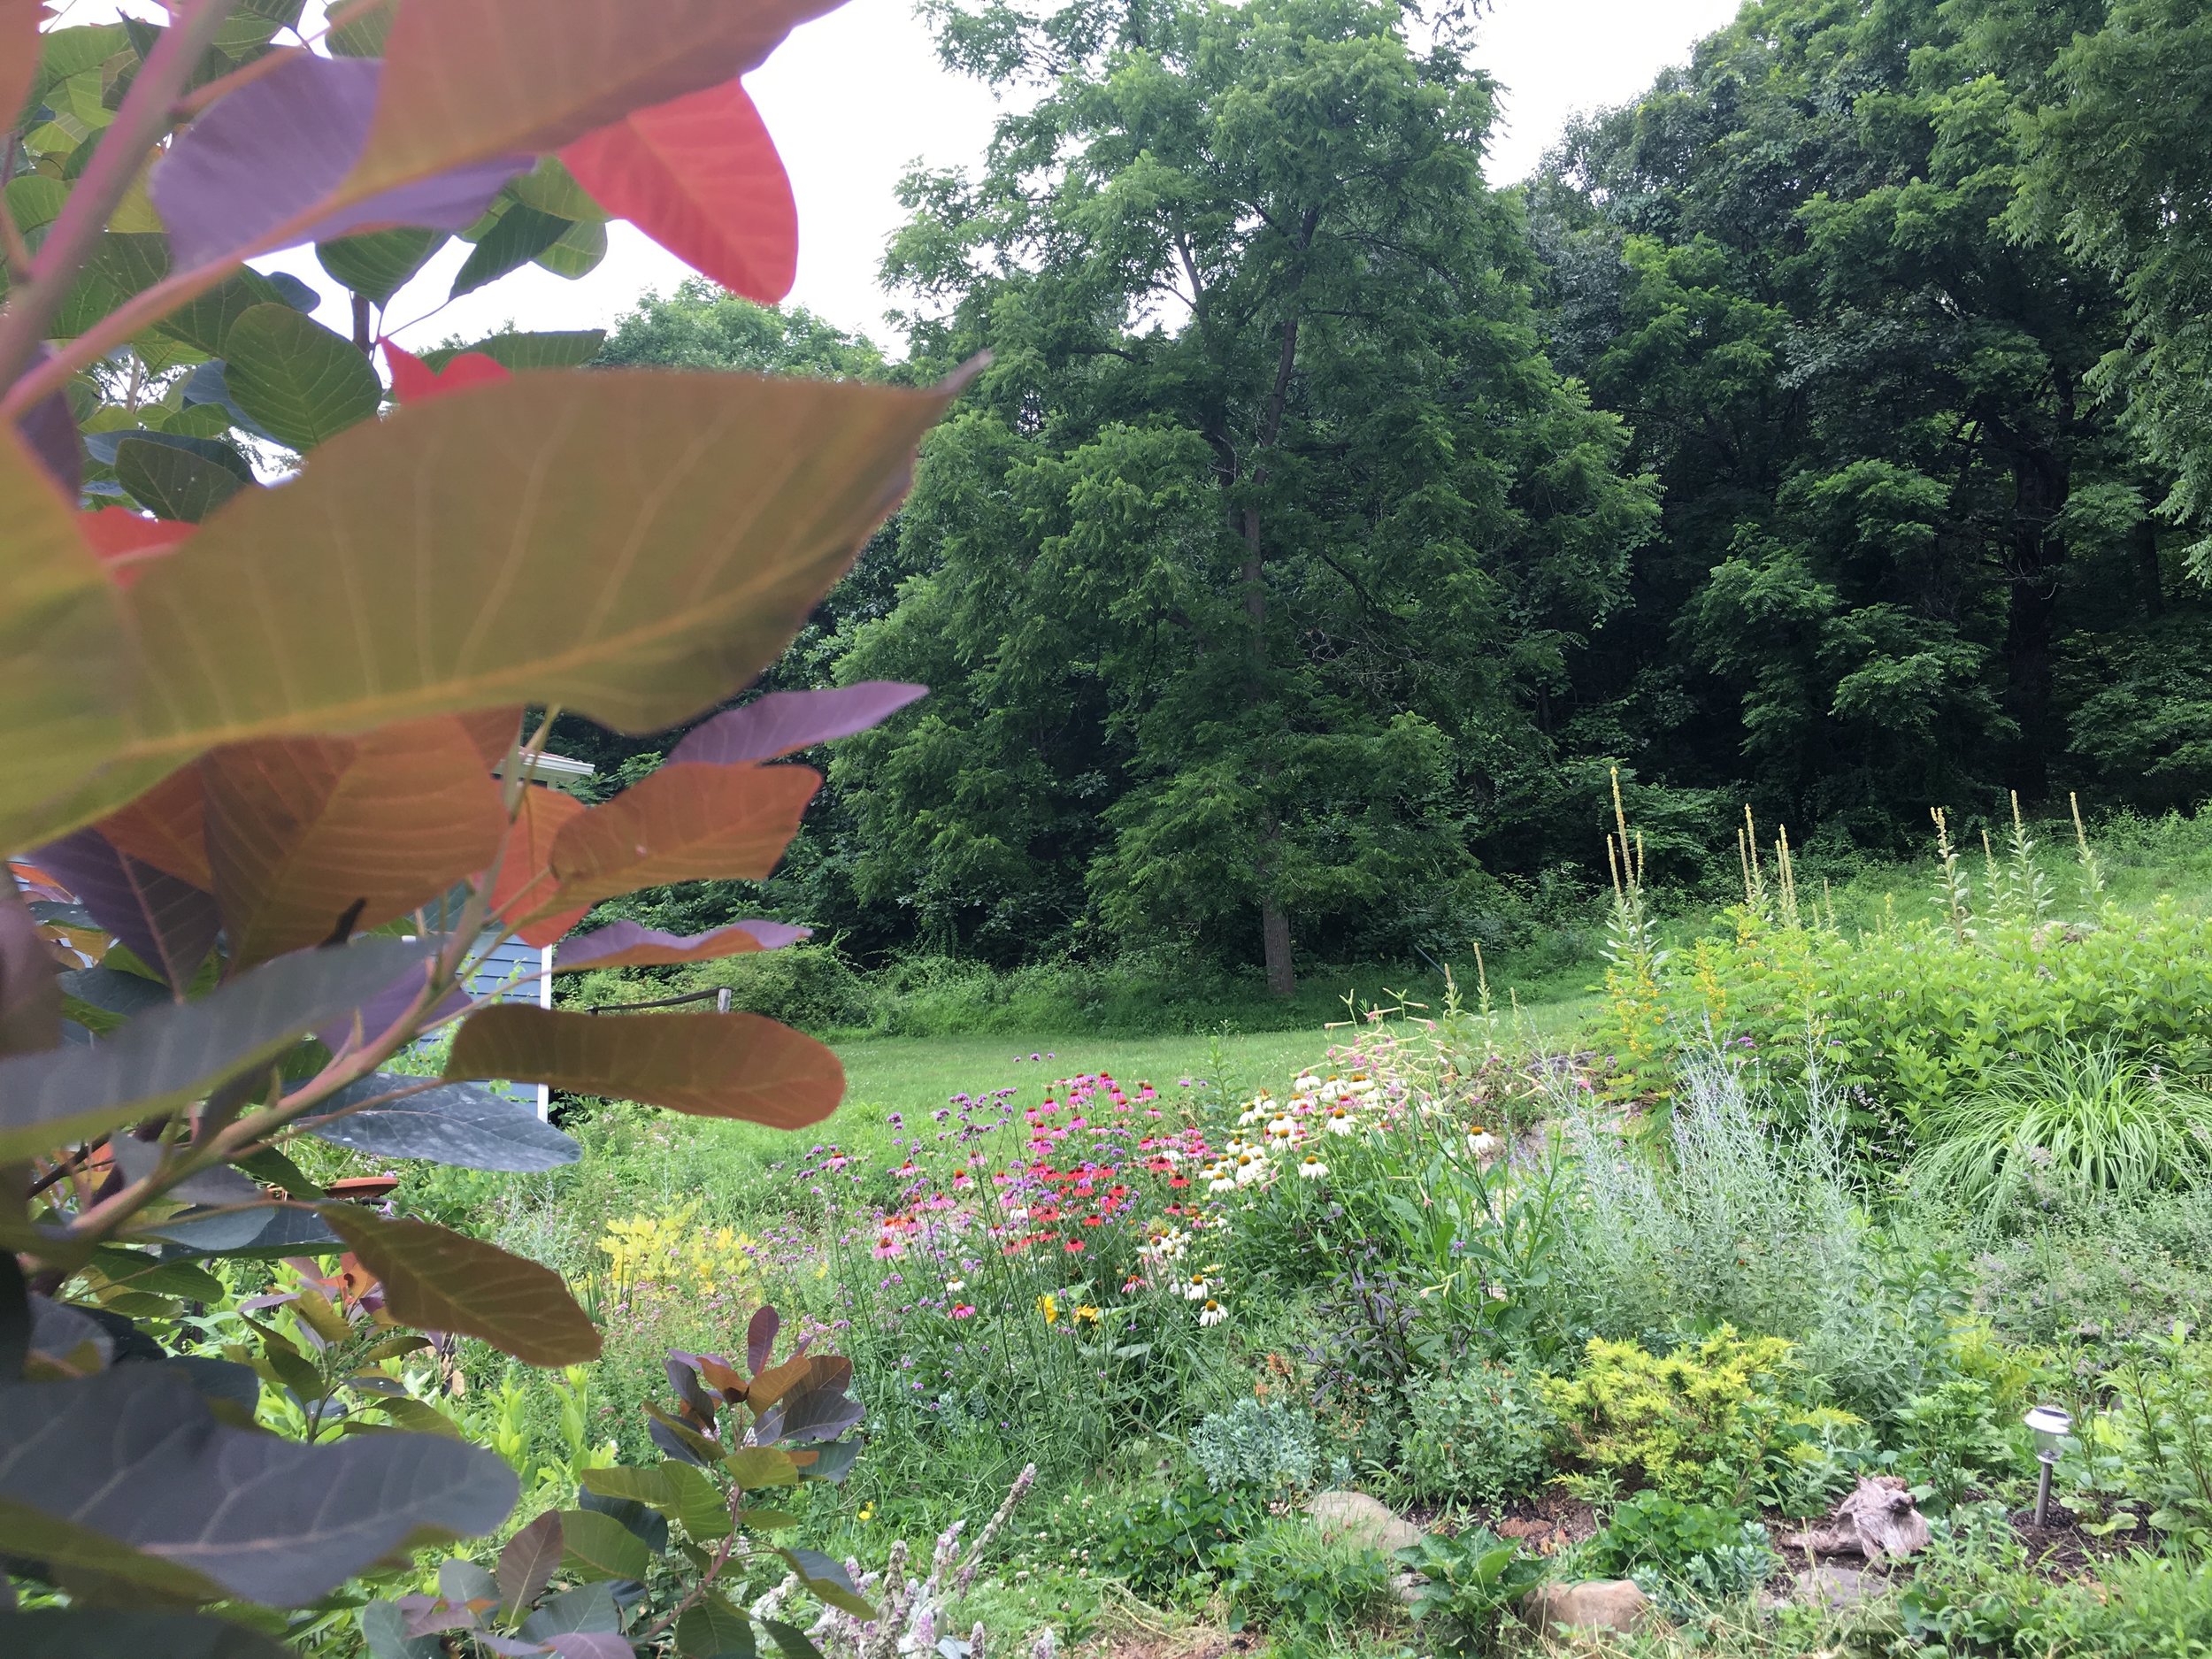


That's one of the many butterflies flitting from bloom to bloom.
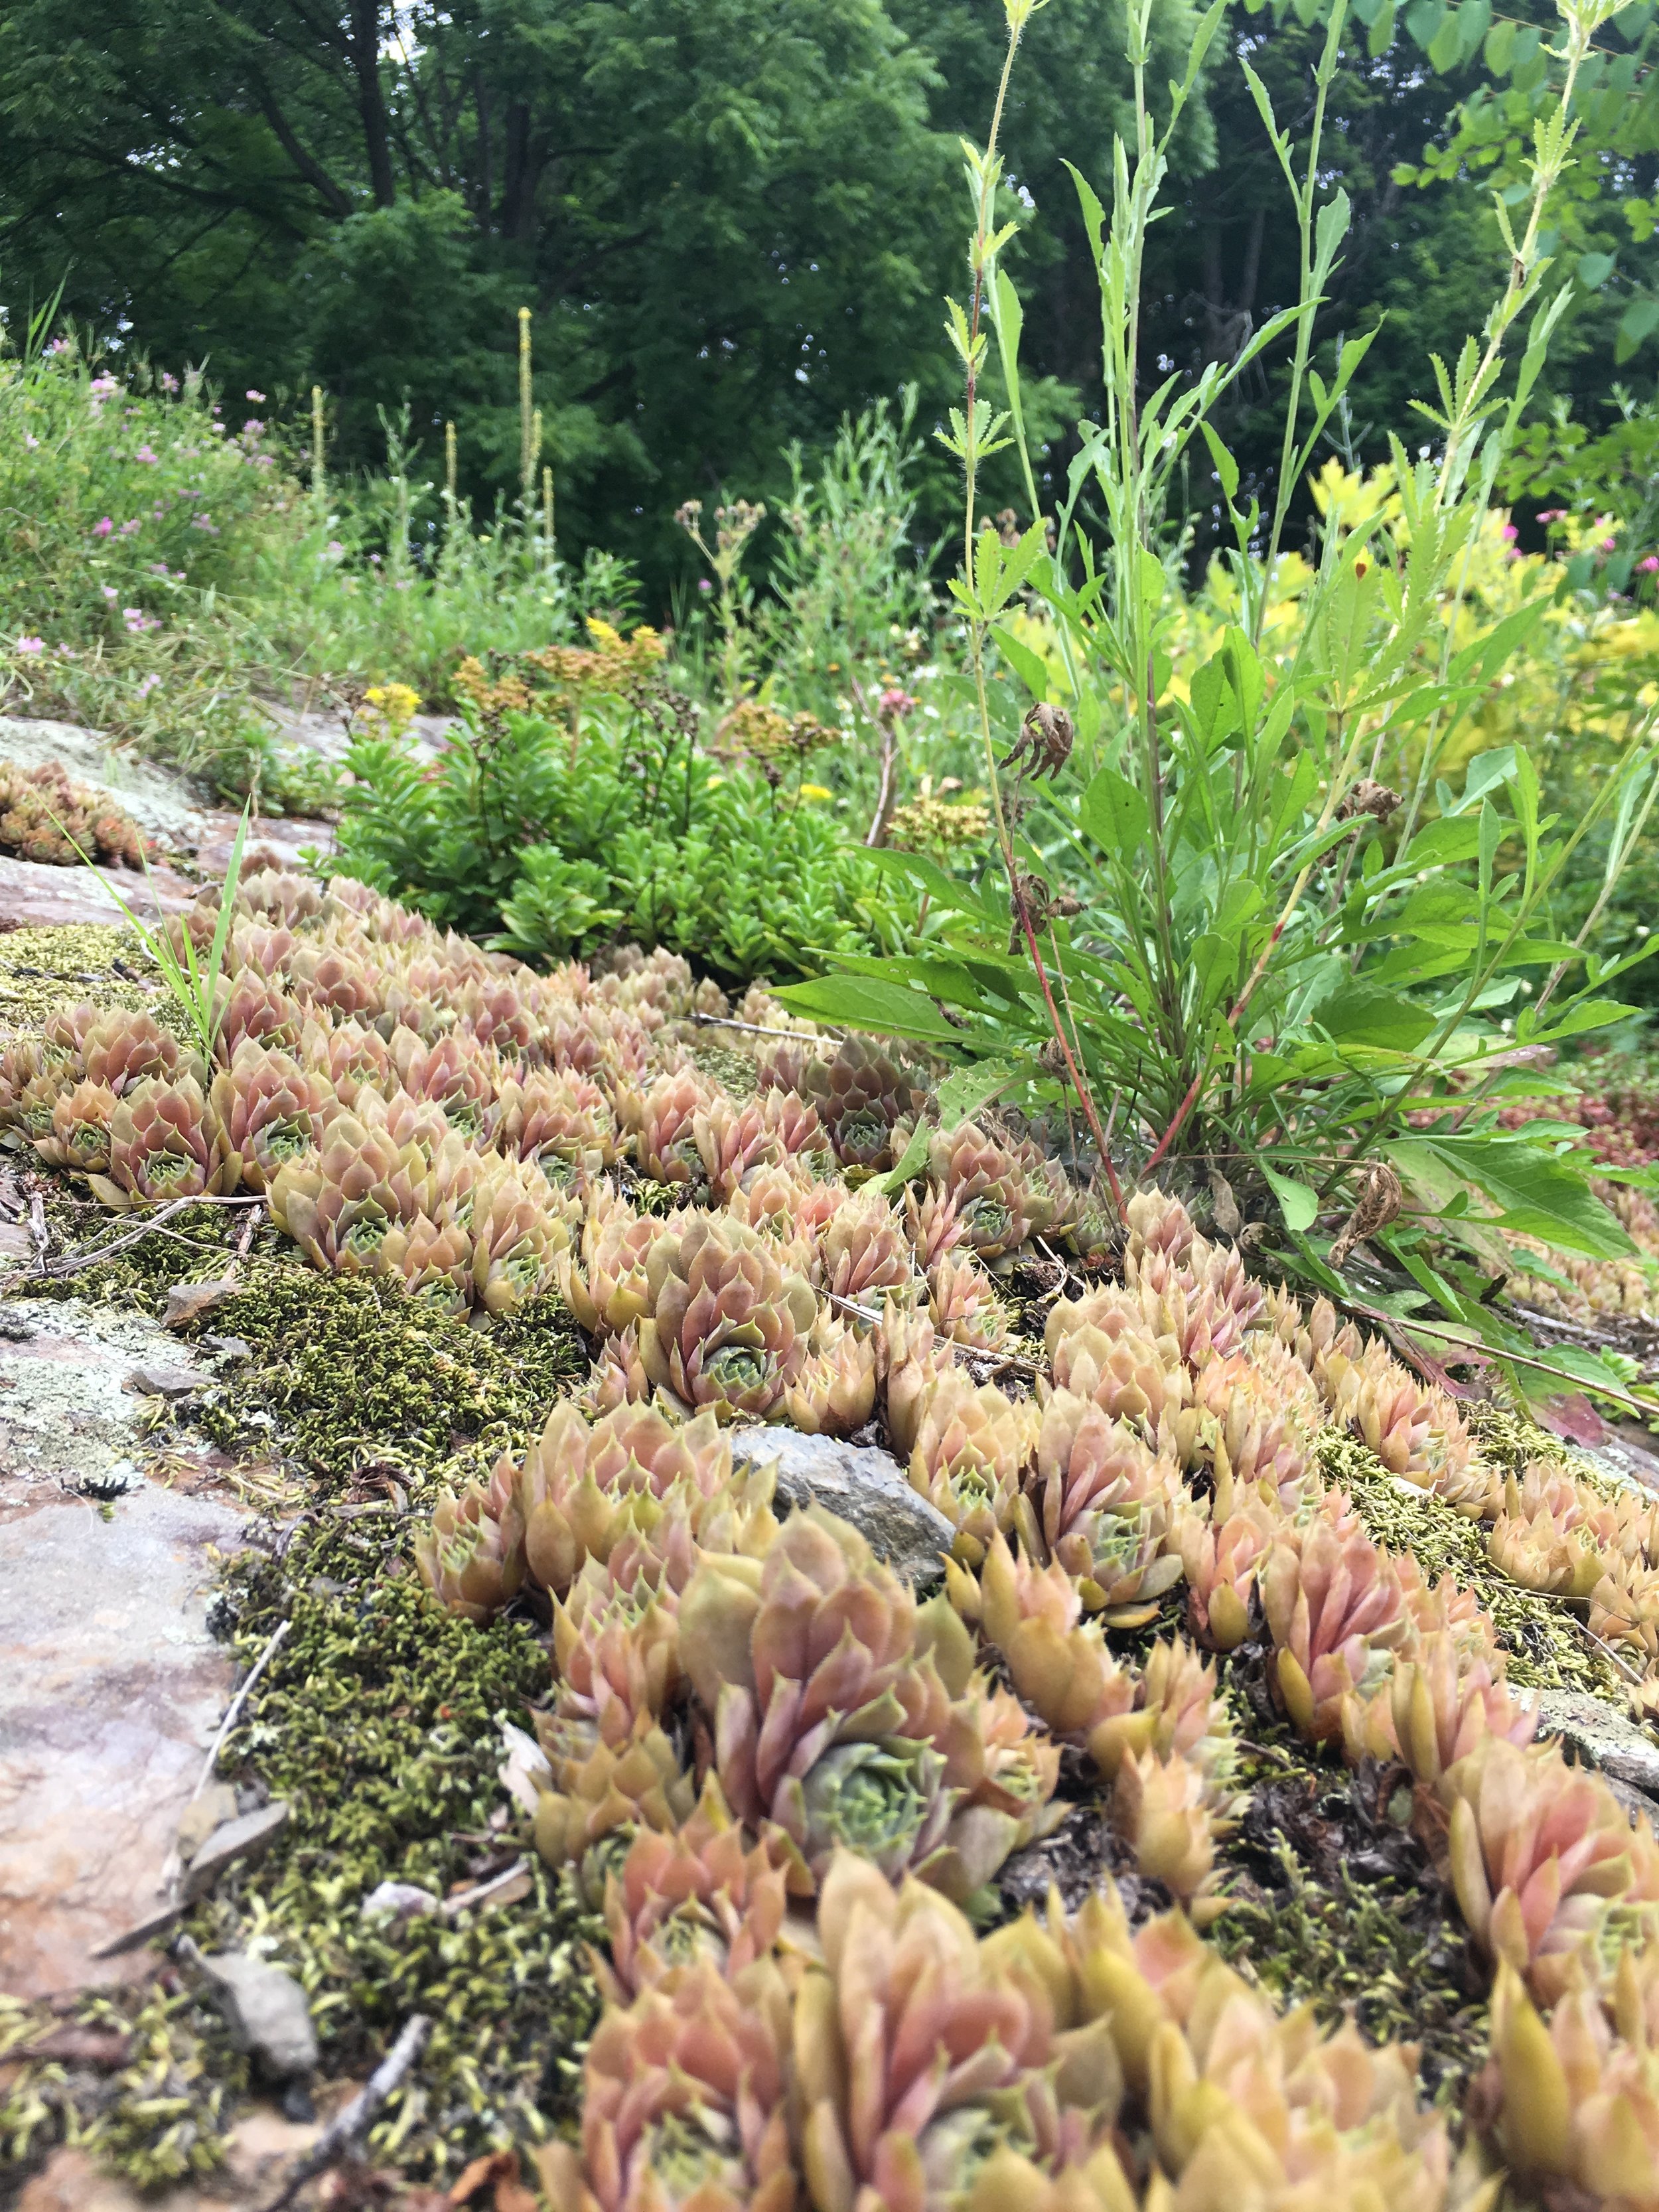
The exposed rock outcropping is now colonized with several varieties of sedum, adding yet another layer of color and texture to this once boring hillside!

At Victoria Gardens, every dramatic before and after begins with an hour long on-site consultation by Victoria. This visit allows the designer to see the space you envision becoming your garden and allows you an opportunity to express your desires and ideas and ask any questions you may have.
Design consultations are $150 and can be scheduled by calling the shop at (845) 658-9007.
Victoria Gardens is located in Rosendale, NY on the corner of Rt 213 and Cottekill Road. We are a fully stocked plant nursery, garden center, and garden gift shop.
Throughout the season we have classes and special events, including private garden tours from March through November. October through December we carry holiday gifts, decor, handcrafted wreaths, and we feature a DIY Holiday Wreath Studio.
At Victoria Gardens during the gardening season, you will find a selection of trees, shrubs, and perennials that are chosen specifically for our area and for our customers most frequently voiced problems: deer, dry soil, wet spots, and shady areas.
Our knowledgeable staff will help you find the perfect combinations, so you only have to plant once!
Open 7 days a week!
Monday - Saturday 9am-5pm
Sunday 10am-4pm
(845) 658-9007
You can purchase Gift Certificates anytime here.
The shop is awash in greenery and stocked full of all the latest plants of interest; trendy foliage, succulents & cacti, petite fairy garden plants, lush ferns, pet- friendly plants, the best air purifiers — truly something for everyone. We promise that you’ll leave with a new plant friend to nurture for years to come.
The Victoria Gardens' landscaping crew are experienced and knowledgeable gardeners. Besides designing and installing new gardens, we also offer maintenance, spring cleanups, pruning, transplanting, weeding, and mulching.
Call to get an estimate: (845) 658-9007
If you are trying to find a special variety, call us and ask. We have a wide range of growers in our network and we can place special orders to meet your needs.
Victoria Coyne
+1 (845) 658-9007
victoriagardens.ny@gmail.com
Powered by Squarespace.